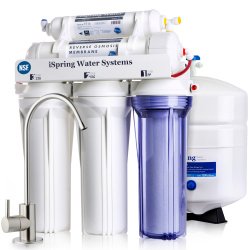
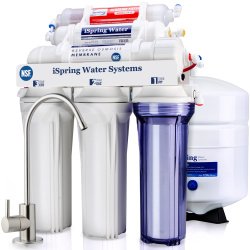
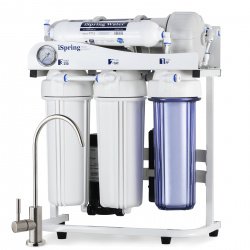
Clean and safe water is a necessity, but repeatedly buying bottles of water from the grocery store is expensive and bad for the environment too. Even bottles that are tossed in the recycling bin are still contributing to plastic waste and pollution. Investing in a reverse osmosis system is often a cheaper and healthier way to access clean and refreshing water in the comfort of your own home. Here are a few tips that will make installation of your new reverse osmosis system a whole lot easier:
Prepare all the tools before beginning the installation process.
Since you will be removing and attaching parts of your sink it is best to have all of the necessary tools ready and nearby so you can work quickly and efficiently. Even if you turn off the main source of water before starting there will likely be a small amount of water left in the pipes and parts of the sink. With your tools at hand there will be no need to leave your work area and risk spreading the residual water around your home. The instruction manual will give you a list of tools not included in the package that are required to install the specific model you have chosen.
Check the sizes of your fittings
Most reverse osmosis systems are designed to fit a standard sized fitting that is common in most homes. However, if you are unsure if the parts are compatible with the fittings already installed in your home you can check them and compare them with the product specification before buying a unit. Alternatively, you can purchase a converter that will attach to the two different sized pieces and it will work just as well.
Turn on the faucet after turning off the main valve
Even when the main source of water has been turned off there will be some water left in the pipes and the faucet. Before you begin installation make sure to leave the faucet turned on for a few minutes and let the trickles of water drain from the pipes. When the faucet stops dripping, leave the valve open to let out all the air in the fixtures, this should only take a few minutes.
Hold a towel under fixtures when unscrewing parts
The nuts and bolts that hold your connector pipes together have special rubber rings that keep water from leaking while in use. Once the pipes are disconnected the rubber rings detach and water may leak out. Placing a towel under these fixtures while you remove them will help to catch any liquids that trickle out and minimize the mess in your workspace.
Choose a horizontal drainpipe to minimize dripping sounds
Part of the installation process calls for you to drill a hole into your drainpipe and attach a tube connected to the reverse osmosis system. If possible, make sure to drill your hole on the horizontal part or curve of your drainpipe to avoid or minimize the dripping sound made when the excess water meets the drain.
We understand that drilling a hole on your drain pipe can be scary. You can refer to this video on how to install the drain saddle for your reverse osmosis system: https://www.youtube.com/watch?v=qGAzzuXDXVE.
Pull the tubes lightly after attached
After attaching the tubes through the quick connection try and tug on them to make sure that they are securely attached. Just a light pull will do. If your tubes still feel loose or come apart then make sure to redo the step or check if you are using the right parts.

Flush the prefilters after each filter replacement
Filters that are posted in front of the reverse osmosis membrane are called "prefilters". Performing a prefilter wash after the initial install or every time you replace the prefilters is recommended to prolong the membrane service life and maximize the system performance.
You can follow this video for step-by-step prefilter wash instructions: https://www.youtube.com/watch?v=n2zW4pVQPgU.
Install the leak stop valve with extra caution
The leak stop valve automatically shuts off the inlet water from entering the system when it detects a leak, effectively protecting your home from water damage. The valve is highly sensitive to water so install the valve with extra caution as the leak stop pad inside the valve will easily absorb even the smallest amount of water and expand. The valve will need to be replaced every time it comes into contact with water.
To get a detail instruction of leak stop valve installation, please refer to this video: https://www.youtube.com/watch?v=vD2FQpbqufw
Installing your own reverse osmosis system is a process that takes a bit of patience, but after getting the first screws together the next steps will be a breeze. Just follow these tips and the installation instructions and your new unit should be ready after a few hours. Now you can save money, save the planet, and drink the freshest filtered water.
For the complete installation video of iSpring RO systems, please check out:
- RCC7 series: https://www.youtube.com/watch?v=yEvLqKiPa5k&lc=UgwornQA_dMgH1nLOEl4AaABAg
- RO100 and PH100: https://www.youtube.com/watch?v=9rSD2zMhzps
- RO500: https://www.youtube.com/watch?v=uomyCsnee0M
If you have any questions about any of our products, or if you need a personalized product recommendation, please feel free to contact us at 678-261-7611 (M-F, 8:30 - 5:30 EST) or email us at support@123filter.com. We are happy to help!